Converting your golf cart to use a lithium battery can significantly enhance its performance, efficiency, and longevity. While the process may seem daunting, with the right tools and guidance, it can be a straightforward task. This article outlines the steps involved in installing a lithium battery conversion kit for your golf cart.
Tools and Materials Needed
Before you begin, gather the following tools and materials:
Lithium battery conversion kit (including the battery, charger, and any necessary wiring)
Basic hand tools (screwdrivers, wrenches, pliers)
Multimeter (for checking voltage)
Safety goggles and gloves
Battery terminal cleaner (optional)
Electrical tape or heat shrink tubing (for securing connections)
Step-by-Step Installation Process
Safety First:
Ensure the golf cart is turned off and parked on a flat surface. Disconnect the existing lead-acid battery by removing the negative terminal first, followed by the positive terminal. Wear safety goggles and gloves to protect yourself from any potential hazards.
Remove the Old Battery:
Carefully remove the old lead-acid batteries from the golf cart. Depending on your cart model, this may involve unscrewing battery hold-downs or brackets. Be cautious, as lead-acid batteries can be heavy.
Clean the Battery Compartment:
Once the old batteries are removed, clean the battery compartment to remove any corrosion or debris. This step ensures a clean installation for the new lithium battery.
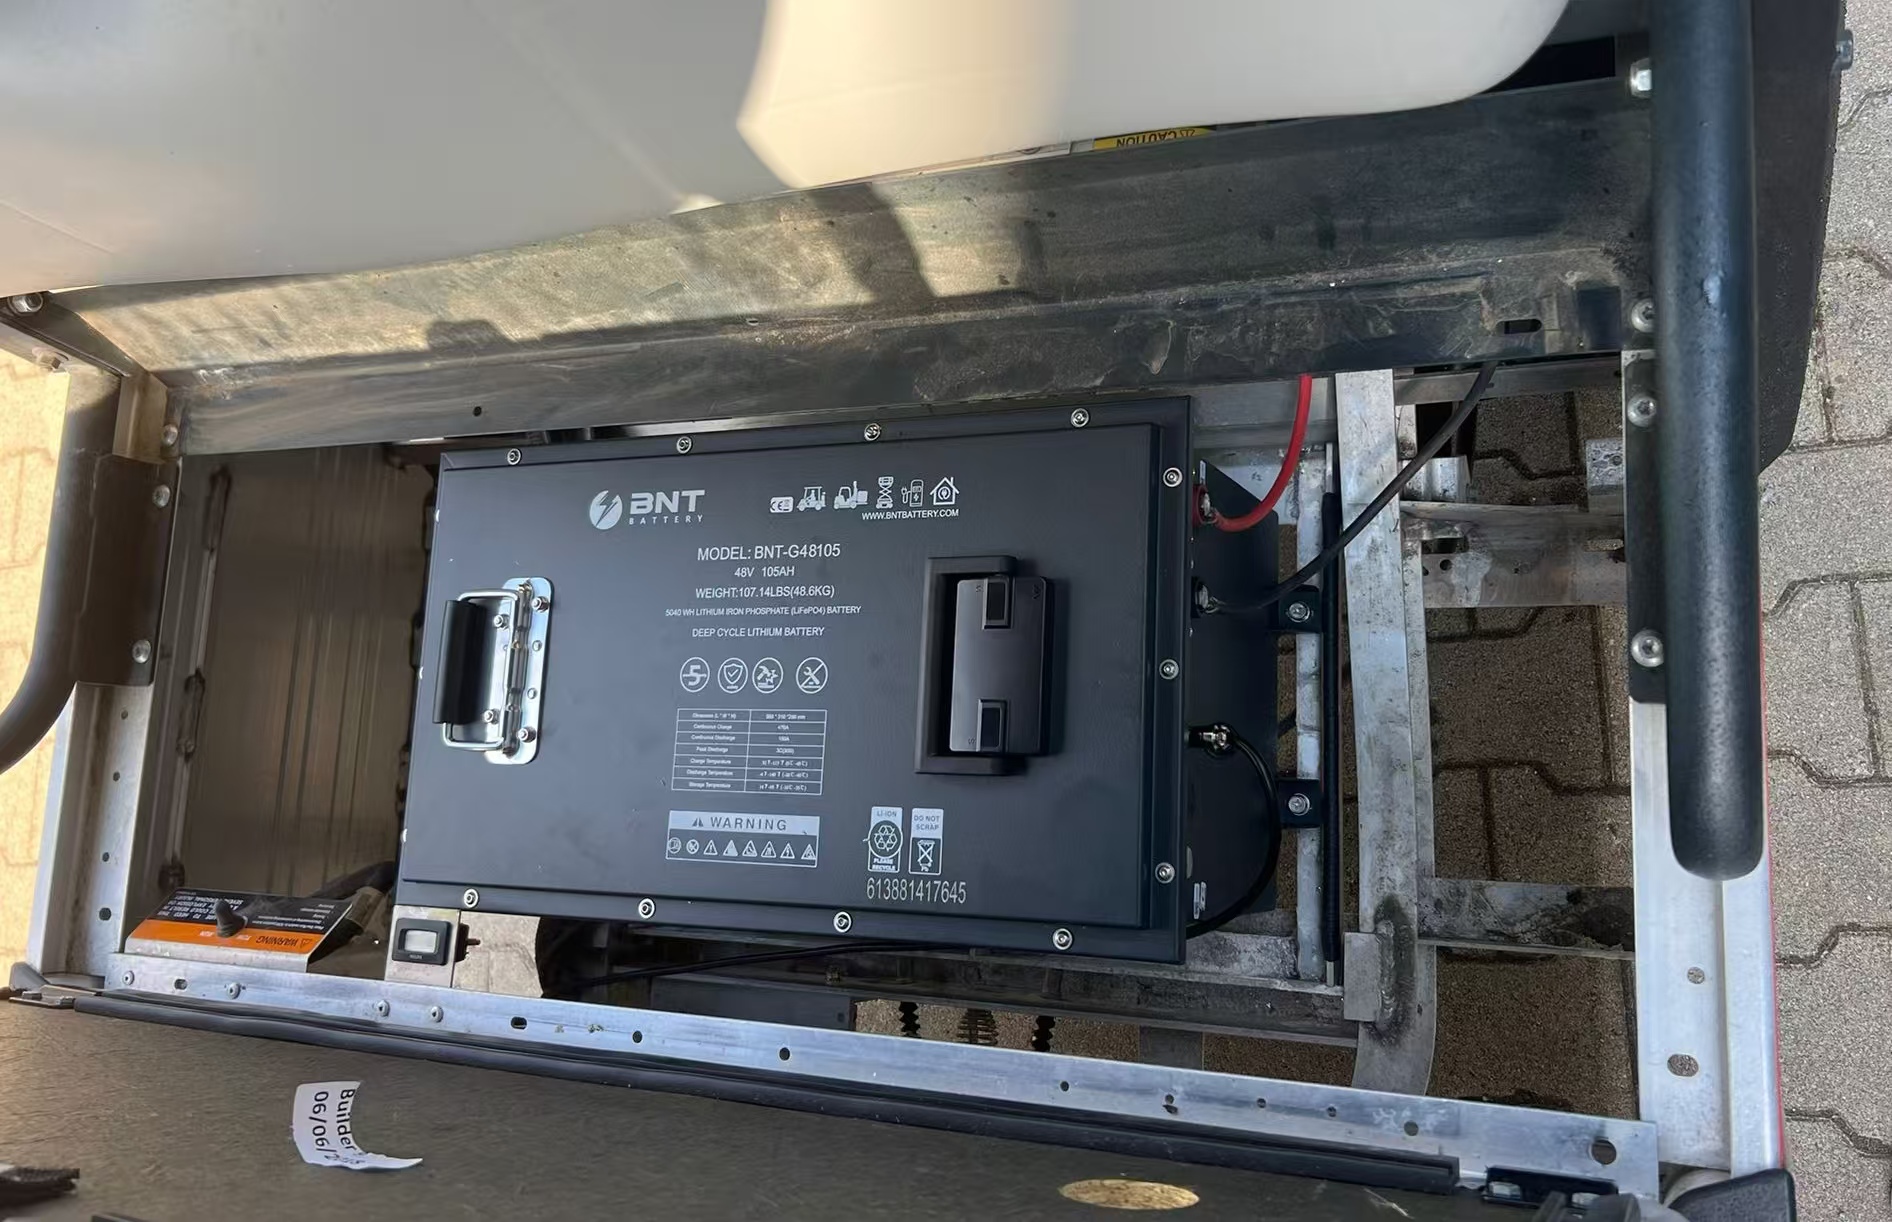
Install the Lithium Battery:
Place the lithium battery in the battery compartment. Ensure it fits securely and that the terminals are easily accessible.
Connect the Wiring:
Connect the positive terminal of the lithium battery to the positive lead of the golf cart. Use a multimeter to verify the connections if necessary. Next, connect the negative terminal of the lithium battery to the negative lead of the golf cart. Ensure all connections are tight and secure.
Install the Charger:
If your conversion kit includes a new charger, install it according to the manufacturer’s instructions. Ensure that the charger is compatible with lithium batteries and is properly connected to the battery.
Check the System:
Before closing everything up, double-check all connections and ensure there are no loose wires. Use a multimeter to check the voltage of the battery to ensure it is functioning correctly.
Secure Everything:
Once you’ve confirmed that everything is connected properly, secure the battery in place using the hold-downs or brackets. Make sure there is no movement when the cart is in use.
Test the Golf Cart:
Turn on the golf cart and take it for a short test drive. Monitor the performance and ensure that the battery is charging correctly. If you notice any issues, recheck your connections and consult the conversion kit’s manual.
Regular Maintenance:
After installation, it’s essential to maintain the lithium battery properly. Follow the manufacturer’s guidelines for charging and storage to ensure optimal performance and longevity.
Installing a lithium battery conversion kit in your golf cart can significantly enhance its performance and efficiency. By following these steps and taking the necessary precautions, you can successfully convert your cart to use lithium batteries. Enjoy the benefits of faster charging, longer lifespan, and reduced maintenance, making your golfing experience even more enjoyable. If you encounter any difficulties during the installation, don’t hesitate to consult a professional for assistance.
Post time: Jan-13-2025